
The good news: we made it to Maryland, along with all of our things. Phew!
The bad news: the sewing machine has yet to make an appearance.
You can imagine, therefore, that this post has nothing to do with sewing, but, nonetheless, everything to do with a big finish, I promise!
First I will let you in on a little secret: I have an addiction to power tools. One of my most prized possessions is the 9.6V Makita handheld drill, which is older than I am, that my dad gave me when I flew away from the nest (no worries, he has and needs six others. I mean really, who wants to change from drill bit to drill bit mid-project? Not this girl, and not her dad either. That's how you lose bits).
Anyway... A couple of months ago, I drew up these plans for a rack to put our bicycles on. I knew that I wanted our bikes to have a place in our new home, but I could not find anything commercially available that seemed like it would last a while, looked like it would fit in aesthetically, and didn't cost a ridiculous sum of money.
My mom and dad gifted us (err...Sean?) the materials to make the rack as part of Sean's graduation presents. Some 4x4 pine posts, a single 2x4 in pine as well, and birch veneer plywood for the shelves.
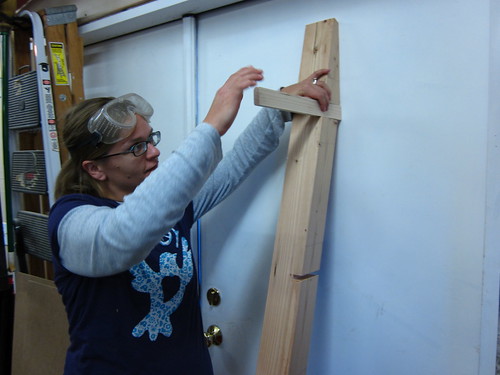
While we were in Minnesota for Christmas, my dad and I worked on making the components for the rack, and I finished the assembly once we got to Maryland. Here are a few in-process in-pajama photos, just for fun :) I love working with my dad in his workshop. So much fun.

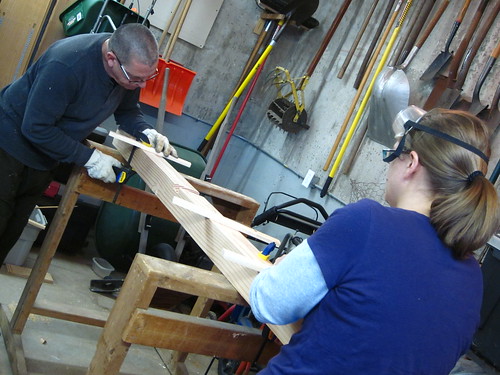
routering the shelf supports
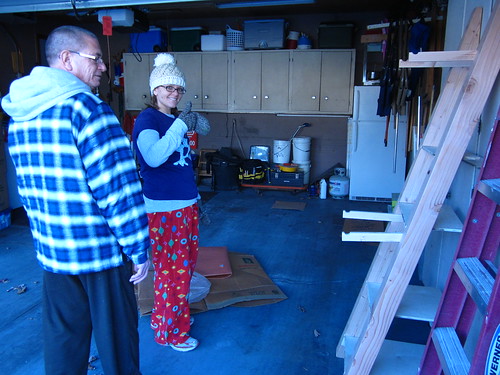
demonstrating the concept to my brother-in-law and Sean
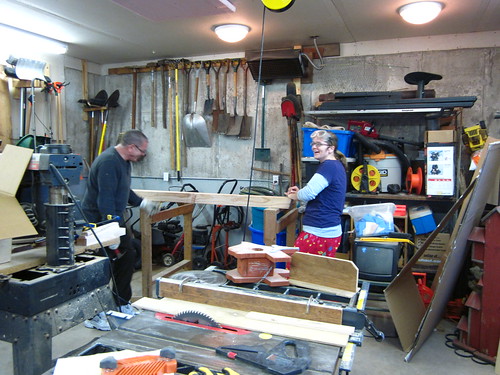
laughing about something hilarious I'm sure
setting up for routering the second beam
almost done!
There were a few bumps. Like when we routered along the wrong line for shelf #2 (from the top). You can see it is a little crooked in the photo above. One of these shelves does not have the same vanishing point as the other ones, for you drawing folks out there :) Also like when we had the wrong blade on the table saw. No, you should not use a plywood blade to cut down a 2x4.
And here is the semi-finished product. Maybe I lied at the beginning of this post. I still need to iron the veneer onto the shelf edges, and it also needs to be stained a dark brown. The problem is I have to stain on the balcony, and I can't stain when the temperature is steadily below 50 degrees. But it works, and we are using it with pride, so it is a finish in my heart :)
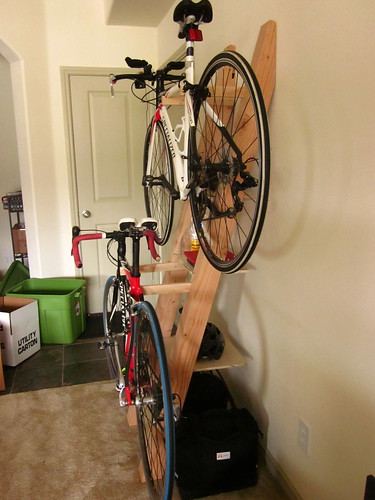
it works!
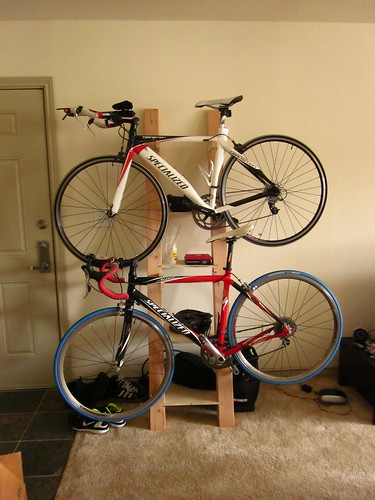
it really works! no bikes have fallen over! (it looks crooked, but the bikes just angle down to the left)
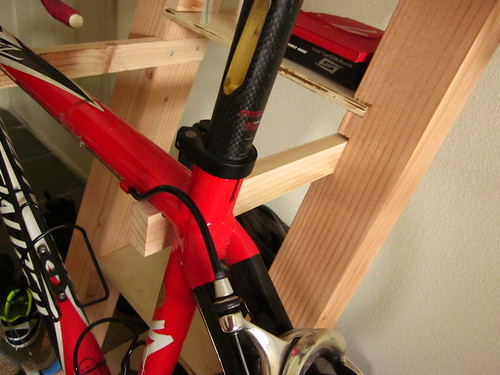
the shelf is straight again!
So that's it! Now you know something new about me: I love power tools. And I love my dad.
Now back to getting rid of the boxes and setting up my sewing space :)
it works!
it really works! no bikes have fallen over! (it looks crooked, but the bikes just angle down to the left)
the shelf is straight again!
So that's it! Now you know something new about me: I love power tools. And I love my dad.
Now back to getting rid of the boxes and setting up my sewing space :)
looks great Mary!
ReplyDeleteCheck you out with your power tools and your protective eyewear! Nice rack. Ha!
ReplyDeleteThats so clever! Loving the power tools in pjs...
ReplyDelete