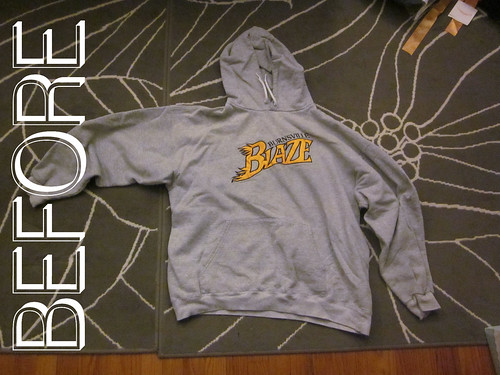
It was time to retire this high school sweatshirt, and I have been excited to try my hand at a sweatshirt remake. I have done a few remakes in the past, mostly with mens' dress shirts, but I haven't loved how some of them turned out. They work, but sometimes working isn't good enough, you know?
With this sweatshirt, I decided to really focus on the fit and make it work well. So here is what I did to it.
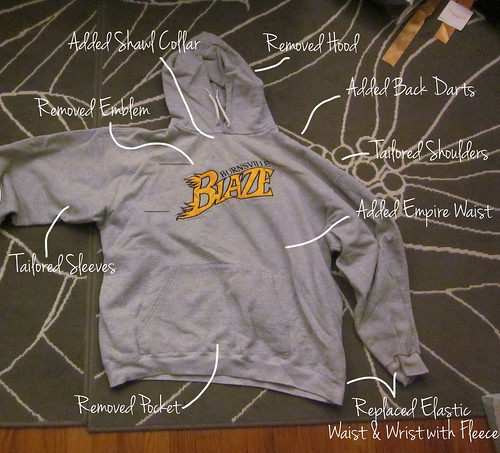
First, I removed the emblem and pocket and cut out the hood. I wanted to narrow the shoulder line, so I cut out most of the space where the emblem was, and I added two back darts in alignment with the neckline. These darts also helped narrow the neck because the hoods on sweatshirts is always nice and roomy (not so nice for a new collar). I added a 3" shawl collar in a neon fleece I had leftover from making cloth diapers.
I cut off the sleeves to make the arm hole in the bodice a little smaller, and then I tailored the sleeves a bit by adding a sleeve sloper (the sweatshirt had a boxy sleeve as seen in the before photo), and by narrowing the arm. The sloper made the sleeves much shorter, so I removed the wrist ribbing and added more fleece as an accent. The tunic would have worked just as well with 3/4 length sleeves, but I like having the full length.
I added length to the sweatshirt with another fleece band. My final step was to add an empire waste just under the shawl collar base. It's at an empire level now, with my pregnant self, but I'm guessing it will drop a bit without a belly.

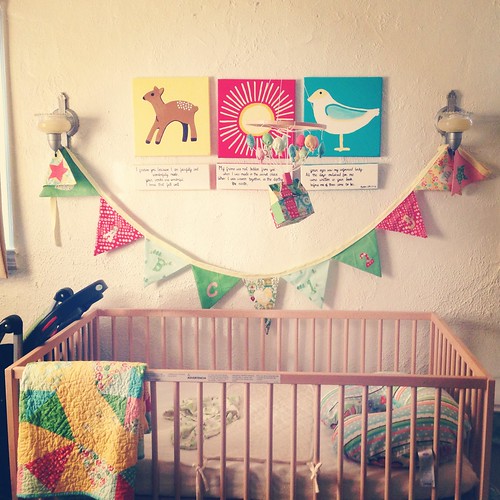
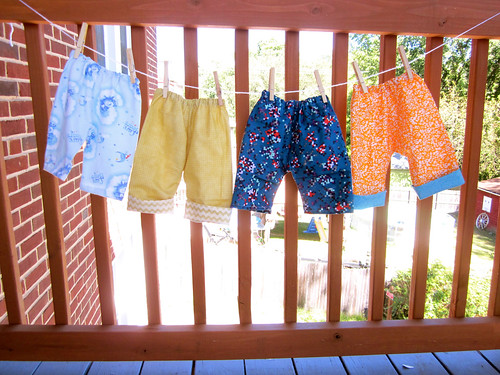
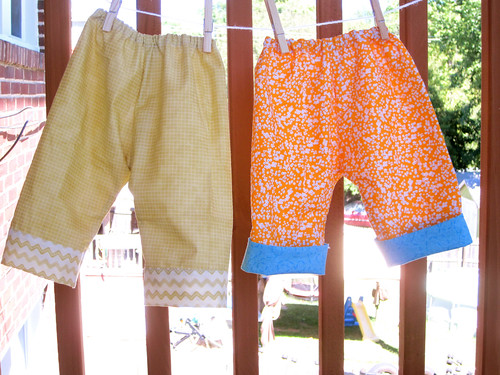
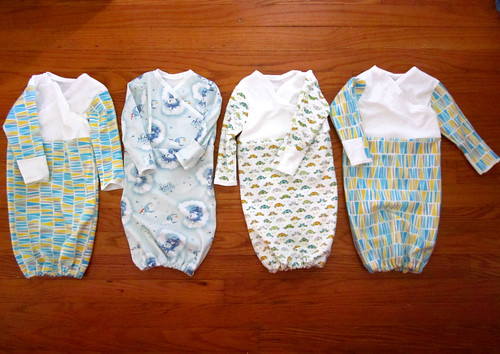
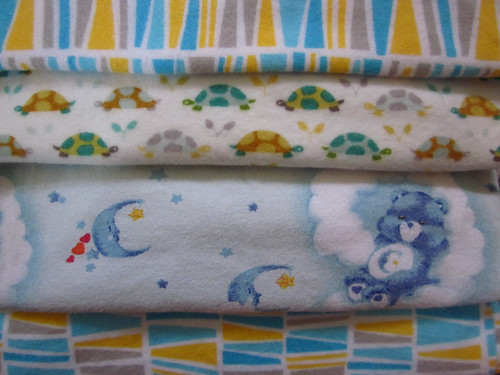
Since this baby is almost here, I wanted to make something that would be useful all winter. I think this fits the bill. Now I can be cozy but not look as sloppy as a big bulky sweatshirt!
(trust me, there are other big bulky sweatshirts that will also see plenty of use too :) )