
Enter: an all-machine complete QAYG block finishing technique. Bear with me, this is my first tutorial...constructive criticism is welcomed :)
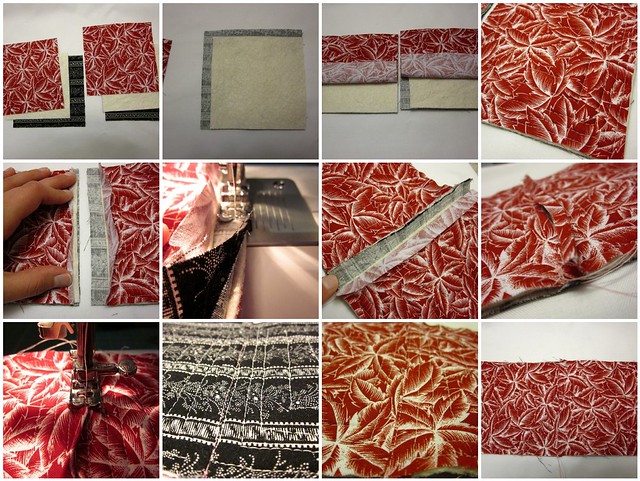
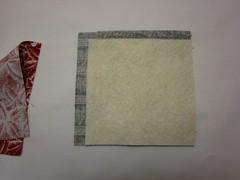
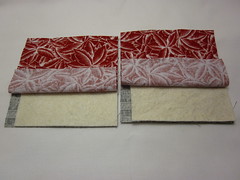
For this tutorial, I am using the red fabric as the quilt top and the black fabric as the quilt backing. Similar to regular block piecing, you want your top and back piece to be 0.5 inches bigger than your finished size. Your batting should be the same size as your desired finished block. So, if you want your block to be 12" square when the quilt is completely finished, your quilt top and back piece should be 12.5" square, and your batting piece should be 12" square.
Once you are ready to quilt your blocks, layer the top, back, and batting by offsetting the batting to the lower right-hand corner. You will end up with a half-inch gap of no batting on the top and left side of your block.
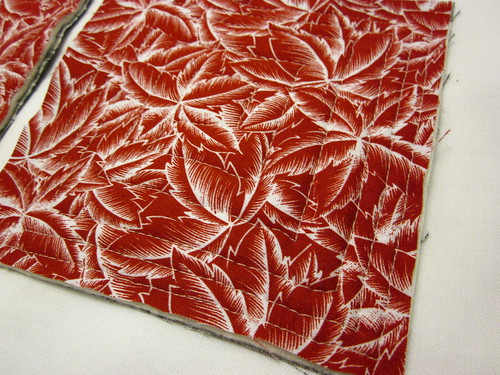
Next, use your desired quilting pattern to quilt your block over the batting only (do not quilt into the half-inch gap).
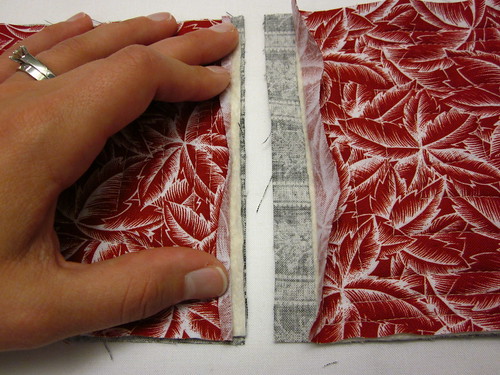
When you place two blocks side-by-side, the right-hand block should have a half-inch gap on the left, while the left-hand block should have batting up to the edge.
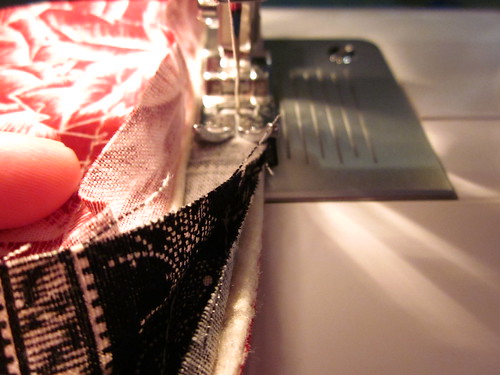
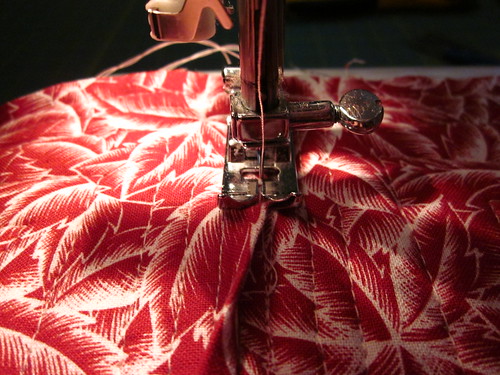
Now to attach the two together. Place the two blocks back sides together. For the right-hand block only (or the block with the half-inch gap), fold the top piece back and do not sew through it. Use a quarter-inch seam allowance to attach the two blocks. (Note: In the photo below, I am stitching from the bottom of the blocks to the top of the blocks. I have folded the red piece back on the upper block so that my presser foot does not catch it).
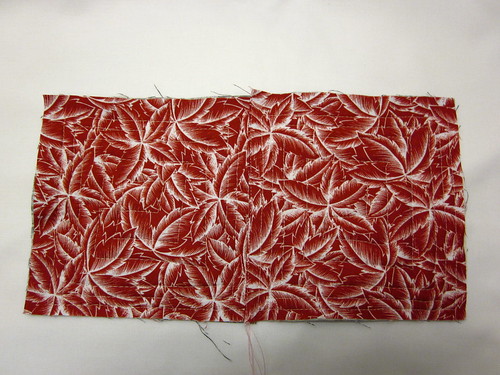
When you finish sewing two blocks together, they should end up something like this.
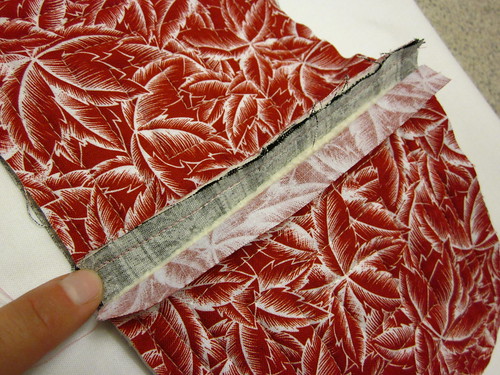
Time for your iron. Press the seam you just sewed toward the half-inch gap (right-hand block). Then, press the remaining unsewn half-inch flap of your quilt top under by a quarter of an inch.
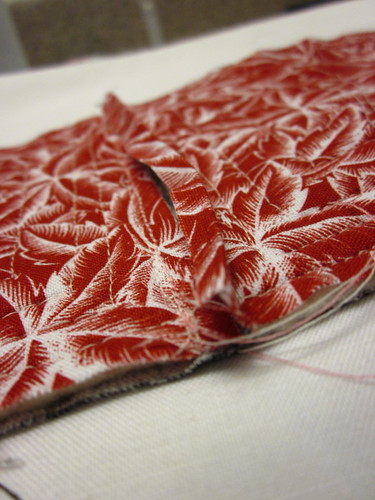
This is where I veer a bit. Normally, you could hand-stitch the flap down and create an invisible seam.
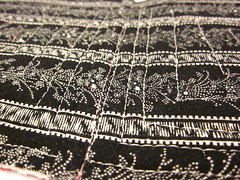
Instead, I used an edge stitch to keep the pressed flap down. (Again, I am sewing from the bottom of the blocks to the top)
Using this technique, you will end up with a visible top-stitch on the front and back of the block (pink in the photos below, if they are clear enough on your screen).
If you are smarter than I am and you use a non-linear-on-the-seam quilting pattern, this visible stitch will create a kind of "frame" around your blocks. Or, you could choose a matching thread so that it fades into your fabric.
And that's about it. I completed entire rows for the quilt I made, and then stitched the rows together using this technique as well (matching bottom-to-top rather than right-to-left).
If you have questions, please let me know :) I hope you all find this useful! Good luck in your QAYG endeavors...
Happy Friday!
Mary
Great tutorial!!
ReplyDeleteGosh!! sounds good to me Mary...nice job
ReplyDeleteVery nice! Bookmarked.
ReplyDeleteThank you for this tutorial!
ReplyDelete